Swapping out an old pendant light is one of the most rewarding DIY projects for transforming a room's atmosphere, as long as you prioritize both aesthetics and safety during installation.
This guide will walk you through the process step-by-step, from safely removing your old pendant light to installing the new one. Also, you will know when professional help serves you best.
First Safety Reminder: This process requires basic electrical knowledge and experience; otherwise, please call a licensed electrician.
Tools & Materials You Need
Tools for Pendant Light Replacement:
-
Non-Contact Voltage Tester
-
Ladder or Step Stool
-
Screwdrivers (Phillips and Flathead)
-
Wire Strippers/Cutters
-
Work Light or Headlamp
-
Electrical Tape
-
Wire Nuts
Materials You Need:
-
Set of New Pendant Light
 Tools & Materials to replace pendant light
Step 1: Turn off the Power and Testing
1. Head to your main circuit breaker and turn off the power controlling your light.
Not sure which breaker it is? Here's a simple trick: Turn the light on first, then flip breakers one by one until the light goes off. That's your breaker!
2. Now, grab your non-contact voltage tester and hold it near each connection point to confirm there's no current flowing.
 Turn off the circuit breaker and check with a voltage tester
Step 2: Remove the Old Pendant Light
Right, let's get that old fixture down!
1. Set up a sturdy ladder: Put it on the level ground near your pendant light.
2. Remove the Canopy: Unscrew the canopy sitting flush against your ceiling. Most canopies either twist off or have small set screws. Tip: Hold the fixture base with one hand as you screw so it doesn't drop suddenly.
3. Disconnect the Wiring: Unscrew the twist-on wire connectors (wire nuts) to separate the three main wires: Black (hot), White (neutral), and the Ground wire (bare copper or green). Gently untwist and separate each connection.
4. Remove the Bracket: Once the wires are free, unscrew the old mounting bracket from the junction box (usually held by two screws).
Handy tip: Keep any hardware that's still in good shape. You might find these bits useful for your new installation!

Step 3: Install Your New Pendant Light
Time to put up your new light!
1. Secure the Mounting Bracket: Fasten the new mounting bracket to the ceiling junction box using the provided screws, but avoid over-tightening to protect the threads.
 Install the new mounting plate
Tip: Use a stiff wire or S-hook to loop the fixture base to the mounting bracket. This supports the weight so you can focus on the wiring without tiring your arms.
 Holding the pendant light without using hands by excess wire
2. Connect the Wires:
-
Ground Wire: Attach the copper or green wire tightly to the green grounding screw on the bracket (If this is your first time, review our grounding instructions for total safety).
-
Neutral (White): Join the white wire from your fixture to the ceiling's white wire using a wire nut. Give it a firm twist!
-
Hot (Black): Connect the black fixture wire to the ceiling's black wire with another wire nut.
Tug Test: Give each wire a gentle tug to ensure the connection is mechanically secure. If a wire slips out, redo the nut.
 Connect those wires properly using wire nuts
3. Tuck the Wires: Carefully fold the connected wires and wire nuts into the junction box. Ensure no wires are pinched or stressed as you close everything up.
4. Mount the Canopy: Slide the canopy up until it’s flush against the ceiling. Secure it using the provided cap nuts, turning them clockwise until firm. Stand back and admire that clean, professional look!
 Slide the canopy up to the ceiling
5. Install the Bulb: Gently screw in your light bulb (ensure it matches the fixture's recommended wattage).
Step 4: Finish
You're almost there!
Now, head back to your circuit breaker and restore the power. Flip the switch and watch your new pendant light shine!
Troubleshooting: If the light doesn’t turn on, stay calm. Turn the power back off at the breaker and recheck your wire connections. Sometimes a wire nut just needs an extra twist to ensure solid contact.
Safety Reminder: If you ever feel uneasy about the wiring, don't hesitate to call a licensed electrician.
 Turn on the power and enjoy your new pendant light
Frequently Asked Questions about Replacing Pendant Light
Common questions about pendant light replacement help you approach your project with confidence.
Is it easy to replace pendant lights?
Yes, they are generally easy to replace and popular for DIY. Kits include clear instructions, and the work involves basic electrical connections like matching wire colors.
Do you need an electrician to change a pendant light?
You need an electrician if you suspect electrical faults (like flickering or warm switches). If the fixture works well, a competent DIYer can typically replace it by following strict safety procedures.
Can I change a pendant light fitting myself?
A competent DIYer can change it, but professional installation is always recommended. Faulty work could invalidate your home insurance or electrical warranties, so honestly assess your skill level first.
How to replace a pendant light bulb?
Hold the top of the socket near the glass to prevent loosening. Gently unscrew the old bulb anticlockwise. Insert the new bulb and turn it clockwise until snug, then test the light switch.
Conclusion
This guide gives you everything you need to replace your pendant lights with confidence and care. By following these steps, you’re not just installing a fixture; you’re safely enhancing your home’s atmosphere.
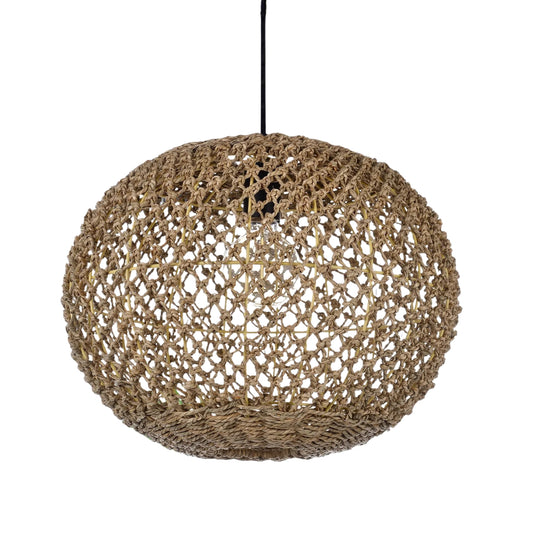
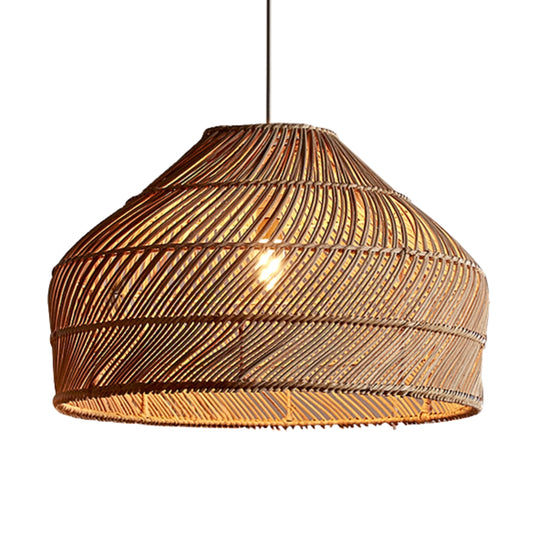
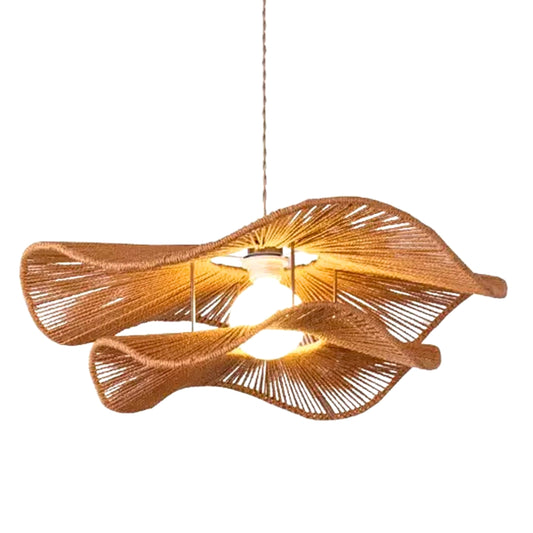
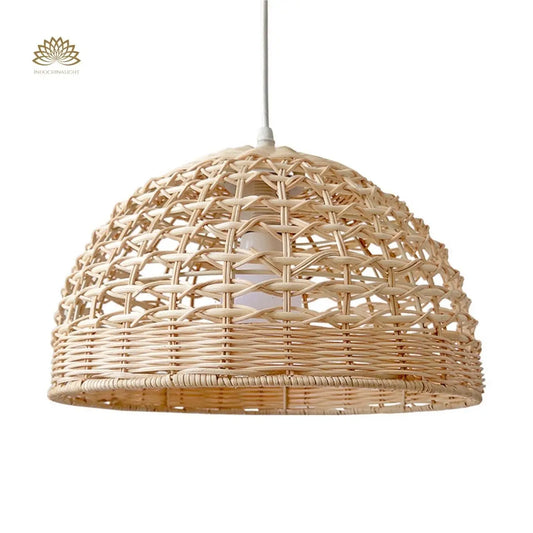
At IndochinaLight, our rattan and bamboo fixtures are handcrafted by Vietnamese artisans to bring organic warmth to your home. These sustainable pieces offer a unique character that mass-produced alternatives can’t match, while supporting local craft communities.
Ready to transform your home with handcrafted lighting? Explore our rattan pendant light collections and find the perfect piece to brighten your space.
IndochinaLight - IndochinaHomeDecor LLC
-
Address: 30 N Gould St Ste. N, Sheridan, WY 82801
-
Phone: (+1) 307 249 0594
-
Email: service@indochinalight.com